Event Ticketing Campaigns
Custom ticketing pages are perfect for engaging with your supporters and collecting donations in real-time at events. Premium, Professional and Enterprise account holders can assign a Text-to-Give trigger word to their events, making it easy for supporters to purchase tickets. Click here to learn more about upgrading.
Creating a Ticketed Event
In the left navigation bar, click Event Ticketing. Click "New Event" to see this popup.
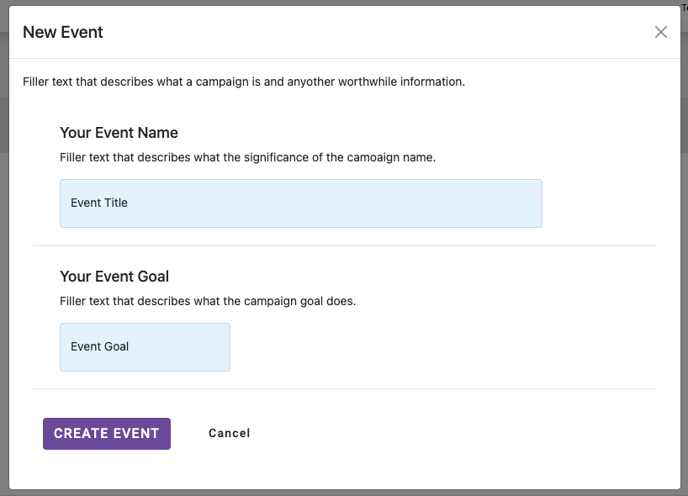
Note: Snowball uses the name of your event to generate your page URLs. While you can go back and change the name of your campaign, your campaigns URL cannot be updated. We understand typos or mistakes can happen, please reach out to support@snowballfundraising.com for further assistance.
You will be taken to your Event Ticketing dashboard, which has seven sections: Ticket Types, Purchases, Attendees, Forms, Thermometers Settings, Text-to-Give and Event Settings.
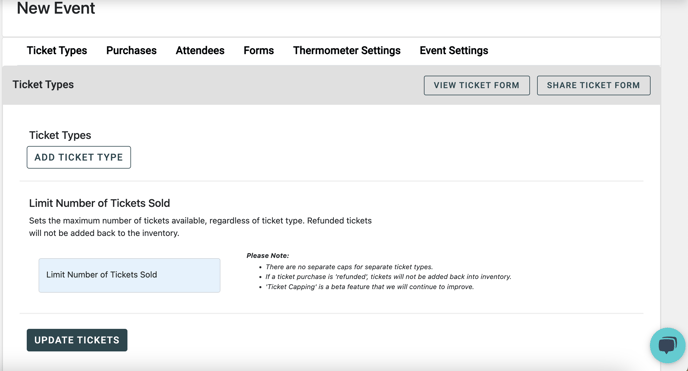
Ticket Types
Click "Add Ticket Type" to reveal the information fields you'll need to fill out in order to offer tickets at your event. Start by giving each type of ticket a name (for example, "Child," "Adult" or "VIP").
Note: Even if you're offering one general-admission style ticket, you'll need to click "Add Ticket Type" and name it here. If you are offering a free ticket make sure to enter "0" in the cost box.
You can also enter a cost for each ticket type, as well as write an optional description. If you are an Essential account holder, you'll only have the ability to create free registrations, and your ticket costs will be $0.
At the bottom of this page, the Limit Number of Ticket Sold field gives you the option to set the number of tickets you're planning on selling. This acts as the maximum attendee capacity for your event. If you are looking to sell as many tickets as possible, leave this field blank.
Purchases
In this section, you'll be able to see all the tickets you've sold. You'll be able to see who purchased the tickets and how much they paid.
Attendees
In this section, you'll be able to see all the people who've registered to attend your event. The person who purchased the tickets, as well as any guests they bought tickets for, will be displayed here. Many organizations export this list and use it as a check-in list at the event.
Text-to-Give
This is where you can set your event's Text-to-Give trigger word, which allows supporters to purchase tickets or register by texting that word your Text-to-Give number.
Forms
Notice that in this section, you have a ticketing form already created. We automatically create this form so that you'll be able give your supporters a way to make donations related to your event, in addition to purchasing tickets. Click on the form to begin editing it: 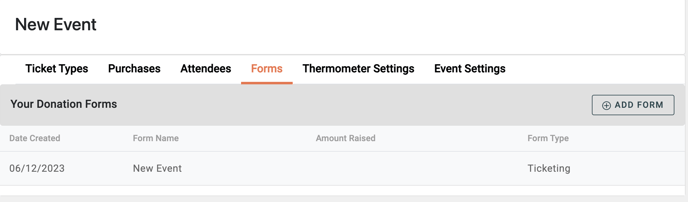
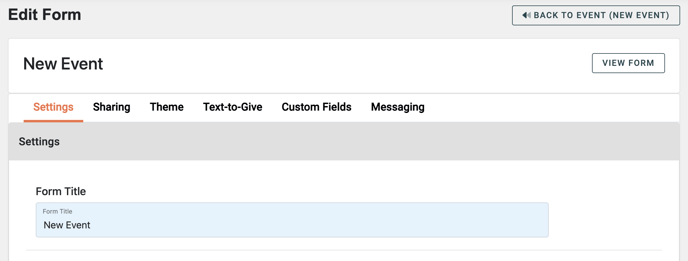
From this view, you can choose between General Form Settings, Theme, Text-to-Give, Custom Fields and Messaging.
General Form Setting
This is where you can edit your Title, Header, Description, Banner image and more. You can find advanced settings at the bottom of this page.
Theme
Use colors and images to bring your fundraising effort to life and connect with your supporters. All form theme elements are optional.
Text-to-Give
Set an additional Text-to-Give trigger word to give donors an easy way to make donations tied to your event, rather than direct supporters to a registration/ticket purchase page.
Custom Fields
You have the option to add custom fields for your supporters to fill out; capture their answers via dropdown, open text field or checkbox. You can also choose to make your custom fields required for your donors.
Organization Contacts & Messaging - Your emailed receipts will include the email address and phone number from your Organization Settings; if you’d like to include different contact information specific to this campaign, enter it here.
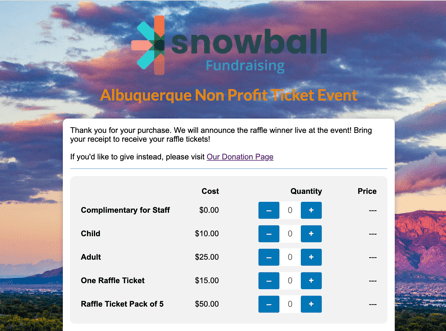
View Form - This button will take you to the same registration/ticketing page your supporters see.
Share Form - This button allows you to share your ticketing page. This popup module will appear giving you several sharing options. 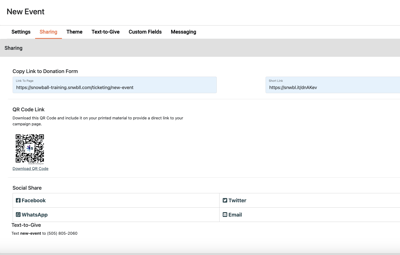
If you would like to solicit donations at your free event or additional donations at your paid event, adding a donation form to your event is a perfect way to do it. It is the same as a Campaign page, but it will contribute to your specific event. Click here to learn more about Campaigns.
Thermometer Settings
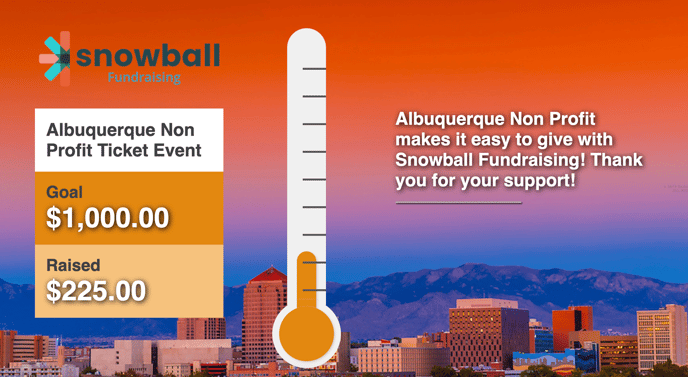
Your thermometer is a great visual representation of your progress toward the goal you've set for your event.
Use your Thermometer Settings to change the header and description of your thermometer. You can also unhide the instructions which will display your Text-to-Give number and keyword on the thermometer.
You can hide or show the Pledge box here as well, depending on whether or not you're using Pledge functionality. You can also show your recent donors as they come in.
Thermometer Theme - Here you can change the colors of your thermometer or add a second logo or background image.
Thermometer Trigger - Make sure to select the keyword you would like to be displayed on the thermometer. The thermometer will represent the total amount raised in the event. If you have more than one form, select one trigger to be displayed, or leave the instructions hidden.
Sharing Your Thermometer - In the top right corner of this section, you'll see "Share Thermometer." Clicking it will present you with this popup modal. 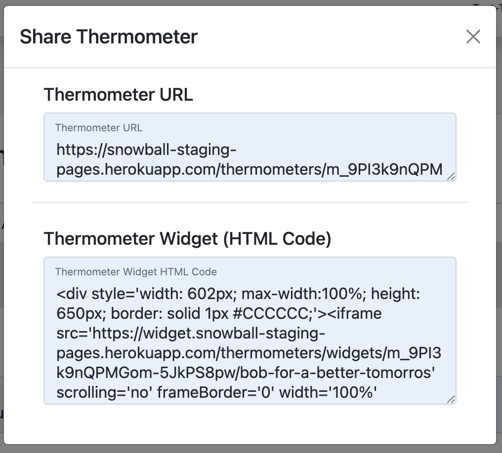
Copy and paste the URL for easy sharing with your supporters, or embed a thermometer widget directly onto your organization's website via the included HTML code.
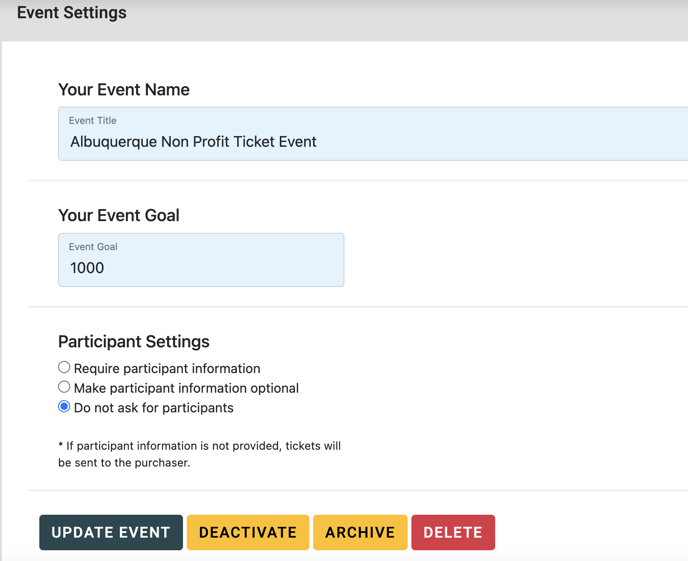
Event Settings
In Event Settings, you can change the title of your event as well as adjust the event's fundraising goal. Here you can also change your attendee settings. If a donor purchases more than one ticket, we ask the donor to provide every attendees name and email so that we may also email them a receipt and that you can have this information for your event. We require this information by default, but you can either make this optional or turn it off completely.