Communicate with your supporters with outbound Email Blasts.
Email Blasts let you write and send messages to groups of supporters in any of your Supporter Lists. To learn more about Supporter Lists, click here. To learn more about our Supporter Management system, click here.
Navigate to the Email Blast section in the left-hand navigation bar. Create a new Blast by clicking "Add Email Blast."
You'll be brought to the Email Blast editing page.
Give your Email Blast an internal name. This will only be seen by you and your authorized Snowball admin users.

Give your blast a subject line that will make your recipients want to open your email and read more.

Give your blast a Sent From address. This will let your recipients know who's sending the email.

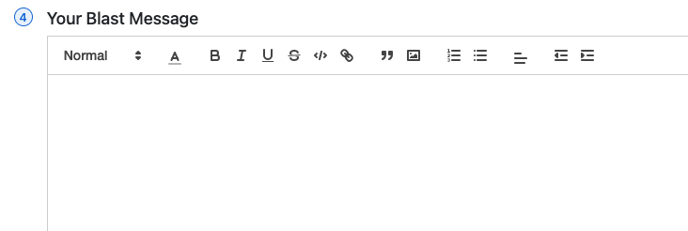
Use the Blast Message composer to edit the body of the email. You can add and resize images, add links, change the formatting and alignment, and more.
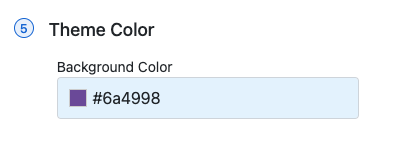
In step 5, you can select the theme color of your Email Blast. This color will affect the background of your email.
(Not sure what to put? You have the option to send a test email to yourself later to see what it will look like for your supporters.)
Now select the Supporter List that you want to send this blast to. Please Note: Creating an Email Blast requires at least one Supporter List to choose from. Learn more about creating Supporter Lists here.
The Email Blast will only send to the users in your Supporter Lists who've opted in to receive email messages from your organization. (Supporters can opt-in to SMS text messages and/or Email Blasts when they make a donation with your Snowball page.)

Now select whether you want to send the blast now or later. If Send Later is selected, you'll be presented with a date and time picker where you can schedule your blast.

If you'd like to preview your Email Blast before sending it out, click the "Send Test" button and enter the recipient email address of your choice. Click "Send Test" again to deliver the preview email to that inbox.
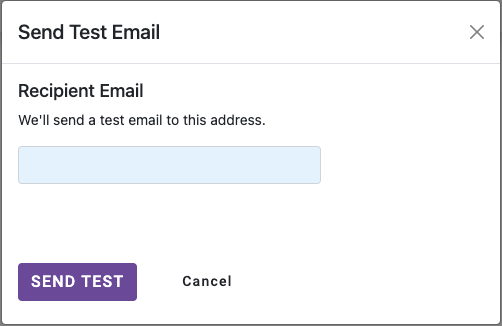
An example test email looks like this:
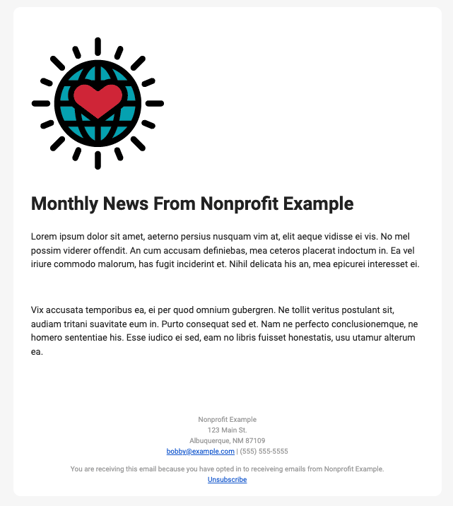
You can also click "Save Draft" to save this Email Blast as a draft, allowing you to return to edit and send it at a later time.
Finalize your blast by clicking "Create Email Blast."

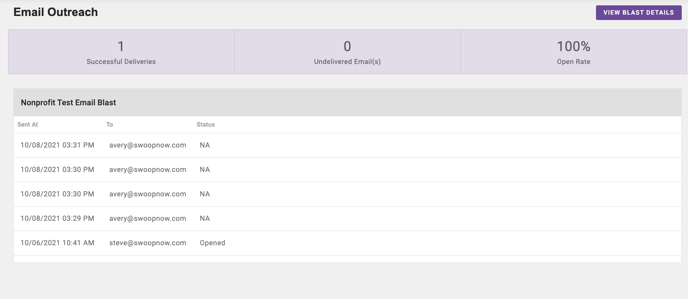
After creating your blast, you can monitor it from the Email Blast details page. Select an Email Blast to see what you sent, when you sent it, and the status of that message: Draft, Processing, Sent, Delivered, or Opened. Successful Deliveries, Undelivered Emails, and Open Rate% are presented like this.
