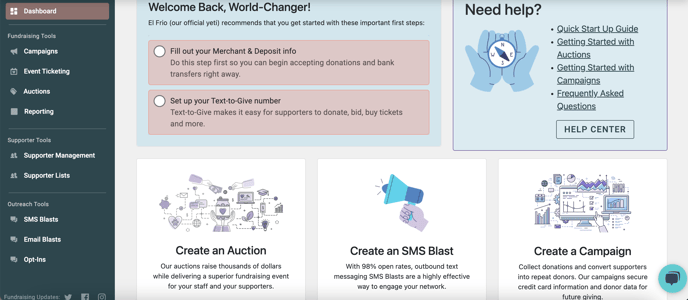
Step 1: Set up your Merchant & Deposits Settings
You’ll need to provide some basic information in order to collect donations and have them transferred to your bank account.
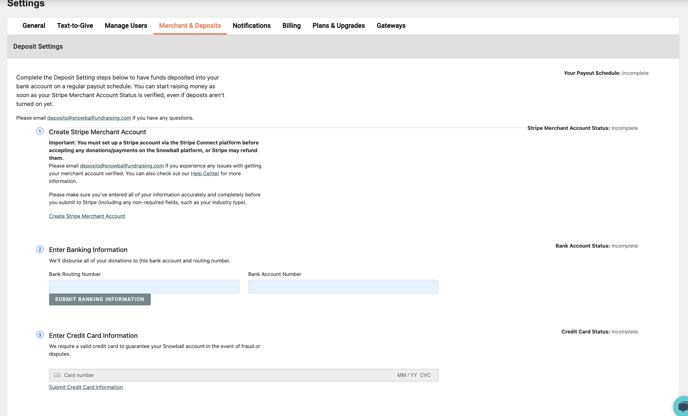
Navigate to the Settings menu and select Merchant & Deposit Settings. Create your Merchant Account to start collecting donations on the Snowball platform.
Note: Please fully update your Merchant Settings to start collecting your first donations/payments. Snowball accounts that aren’t configured with Merchant Settings may have any donations/payments refunded by Stripe, our payment processor.
Completing Steps 2 and 3 on this page will allow us to deposit funds into your bank account on a regular payout schedule. (Click here to learn more about Merchant Settings & Deposits.)
Please visit Merchant Settings and Deposits to learn more about setting up your merchant account or verifying your banking information for deposits.
Step 2: Select Your Text-to-Give Number
Premium, Professional and Enterprise account holders have access to their own Text-to-Give number. You can choose your number by clicking on the Text-to-Give tab in the settings area.
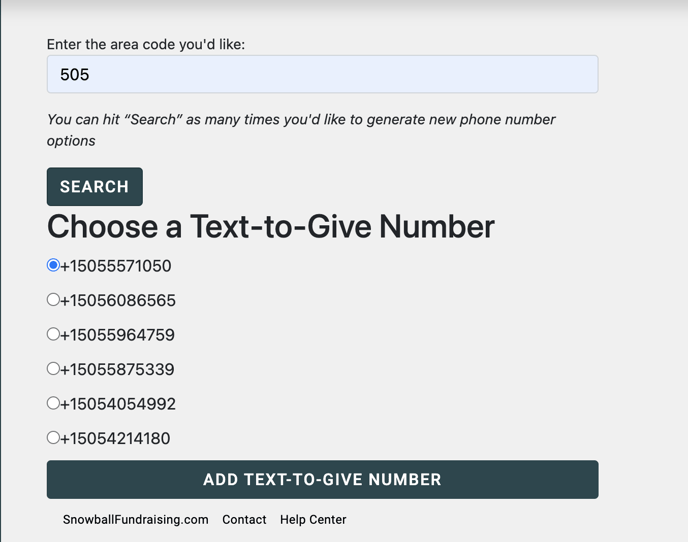
You'll be asked for the area code that you would like your number to originate from. If you do not want to choose from the given set of numbers, clicking "Search" again will give you a new set of numbers to choose from. Choose from the options provided, and you’ll be ready to start using Text-to-Give with your campaigns.
Click here to learn more about Text-to-Give.
If you don’t have a Premium, Professional or Enterprise account and would like one, you can click here to upgrade and start using Text-to-Give immediately. Or contact info@snowballfundraising.com if you have any questions.
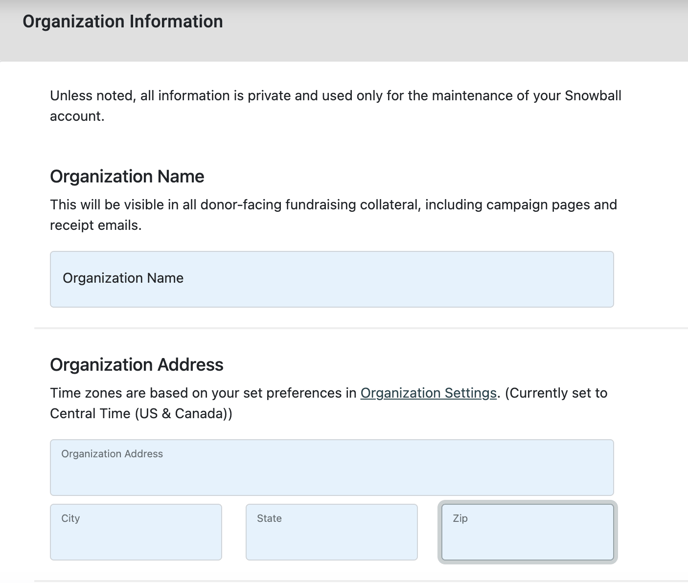
Step 3: Add your organization details and logo
Customize your supporter’s experience by adding your organization’s logo. In the Settings area, click the "General" tab. Then scroll down to the logo section. Be sure to fill out the rest of the information on this page: Organization Name, Contact Info, Time Zone, and Address.
Step 4: Create your first campaign
Once you’ve completed Steps 1-3, you’ll be ready to create campaigns for your organization’s fundraising initiatives. Premium, Professional and Enterprise account holders can create unlimited campaigns. If you have an Essential account, you'll have access to one default campaign.
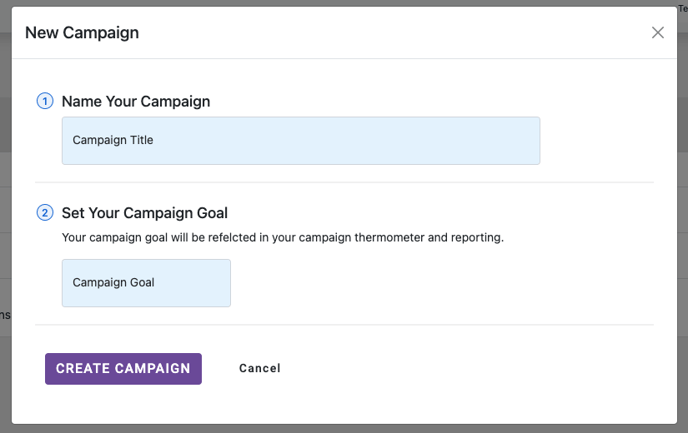
To create a campaign, go "Campaigns" on the left navigation to see and manage all of your campaigns. Click on "New Campaign" and fill out the details in the popup modal.
Note: Snowball uses the name of your campaign to generate your page URLs. While you can go back and change the name of your campaign, your campaigns URL cannot be updated. We understand typos or mistakes can happen, please reach out to support@snowballfundraising.com for further assistance.
You now have a campaign with an auto-generated giving form. Hover over the form to edit, view the page, or view transactions.
Click here for more information on setting up and customizing your campaigns (which, to most effectively fundraise, you will definitely want to do).